
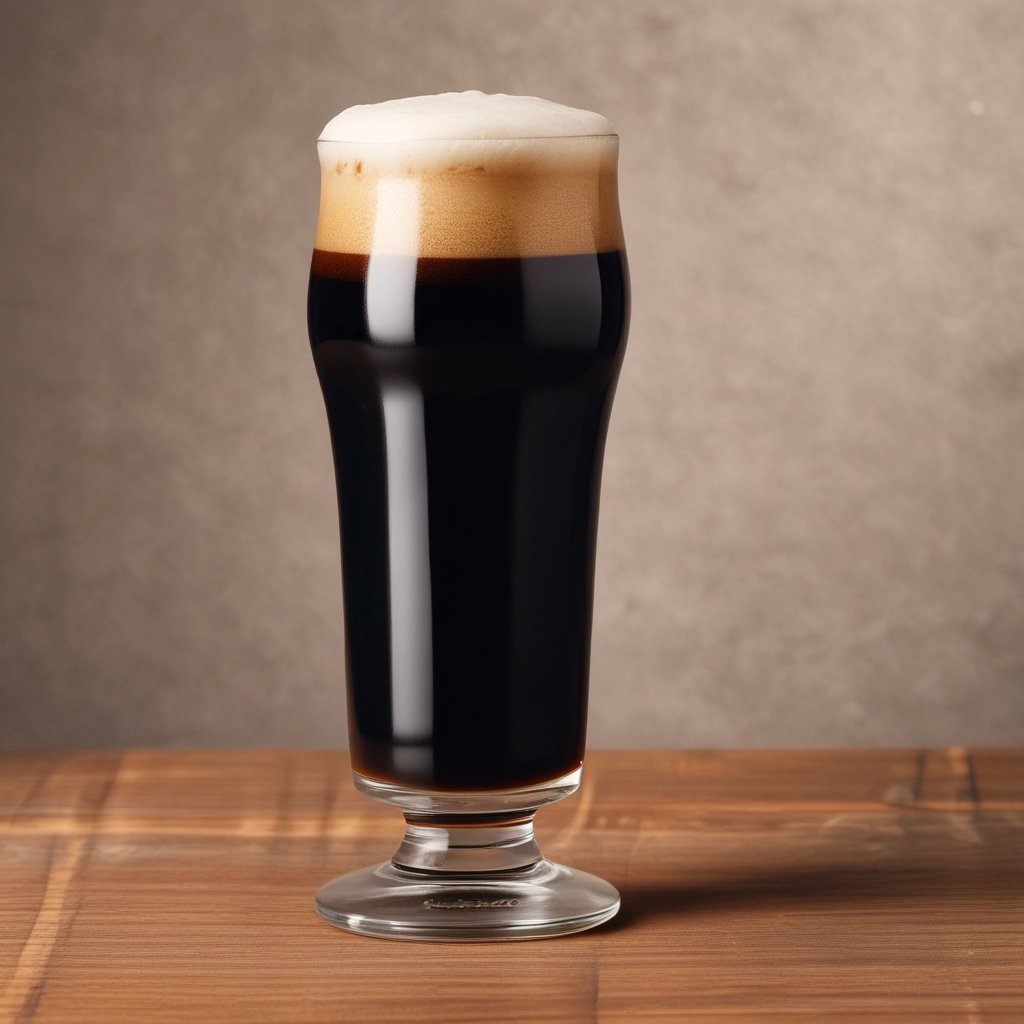
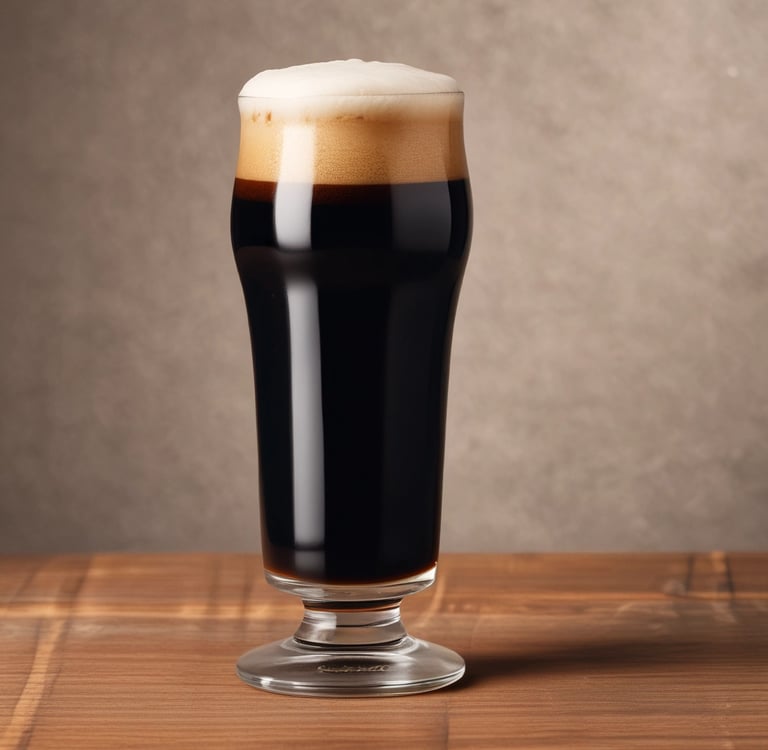
Brew Your Own Porter: A Step-By-Step All Grain Recipe
Porter Recipe
HOME BREWING RECIPE
3/3/20262 min read
Get Ready to Brew!
If you're a beer enthusiast looking to create something rich and robust, brewing your own porter beer can be a rewarding experience. This guide will take you through every step of the process, from mashing to bottling. Get your ingredients ready and let’s get brewing!
Ingredients
9 lbs Maris Otter
1 lb Crytal Malt (40L)
1/2 lb Chocolate Malt
1/2 lb Munich Malt
1/4 lb Black Patent Malt
1/2 lb of Roasted Barley
1 1/2 lb Flaked Oats
1 oz East Kent Goldings for bittering, added for 60 minutes
1 oz Fuggles for flavor, added at last 15 minutes of boil
1 packet of English Ale yeast such as Wyeast 1098 or Safale S-04)
5 oz of corn sugar for priming before bottling
6 - 7 Gallons of water
Mashing the Grains
The first step in brewing an all grain porter is the mashing process. Start by heating water to about 160°F – this is the perfect temperature to activate the enzymes in the malt. Combine your crushed grains with the hot water in a mash tun. It helps to stir the mixture, ensuring there are no dry pockets. Maintain the temperature between 150°F and 155°F for about an hour. This will allow the starches in the grains to convert into sugars, giving your porter its delicious flavor profile.
The Boil and Hop Additions
Once you’ve completed mashing, it’s time to sparge the grains and collect the wort. Bring the wort to a boil, and once boiling, you can add your hops. For a porter, bittering hops like East Kent Goldings or Fuggle are great choices. Add these hops at the start of the boil for bitterness. Approximately 60 minutes into your boil, introduce a flavoring hop variety for aroma. Don’t forget to pay attention to timings; hops added later in the boil contribute more aroma than bitterness.
Cooling and Yeast Pitching
Now that your boil is complete and you've added your hops, it’s crucial to cool the wort as quickly as possible to around 70°F. This can be done using an immersion chiller, which is the quickest option. Once cooled, transfer the wort to your fermenter. It's time to get the yeast involved! Pitch your yeast into the wort. A good quality ale yeast, like a Nottingham or S-04, works perfectly with a porter. Make sure you also add yeast nutrients to ensure a healthy fermentation process!
Aerating the Wort and Racking
Use a aquarium pump to get dissolved oxygen into the cooled wort. Oxygen is essential for yeast health early in fermentation. Once your fermentation is vigorous and appears to be winding down after about a week, it’s time to rack the beer to a secondary fermenter. This process will help separate the beer from the sediment that collects at the bottom.
Bottling Your Porter
After a couple of weeks in secondary, it’s time to bottle your porter. First, dissolve priming sugar in water (this helps carbonate the beer) and add it to your bottles. Then carefully siphon the porter into bottles, leaving a little headspace at the top. Cap the bottles securely and store them in a dark, cool place for about two weeks. This allows the carbonation to develop.
Once two weeks are up, chill a bottle, and enjoy your very own homemade porter! Cheers to your brewing success!
Join
Sign up for recipes, tips, and expert advice
Contact
Subscribe
hello@fermentedcuriosities.com
© 2026. All rights reserved.